In the third unit of Honors Engineering, we learned about how to program Arduino to control LEDs.
We learned to program Arduinos on a website called Giffer Reborn. Giffer Reborn is a LED simulator that allows us to write code and test on a website without having to constantly deploy to the Arudino. While this tool is great becuase it can grade our work, I found the website to be dull and boring. The language that is used to program Arduinos is C++. Below is an image of the giffer home page
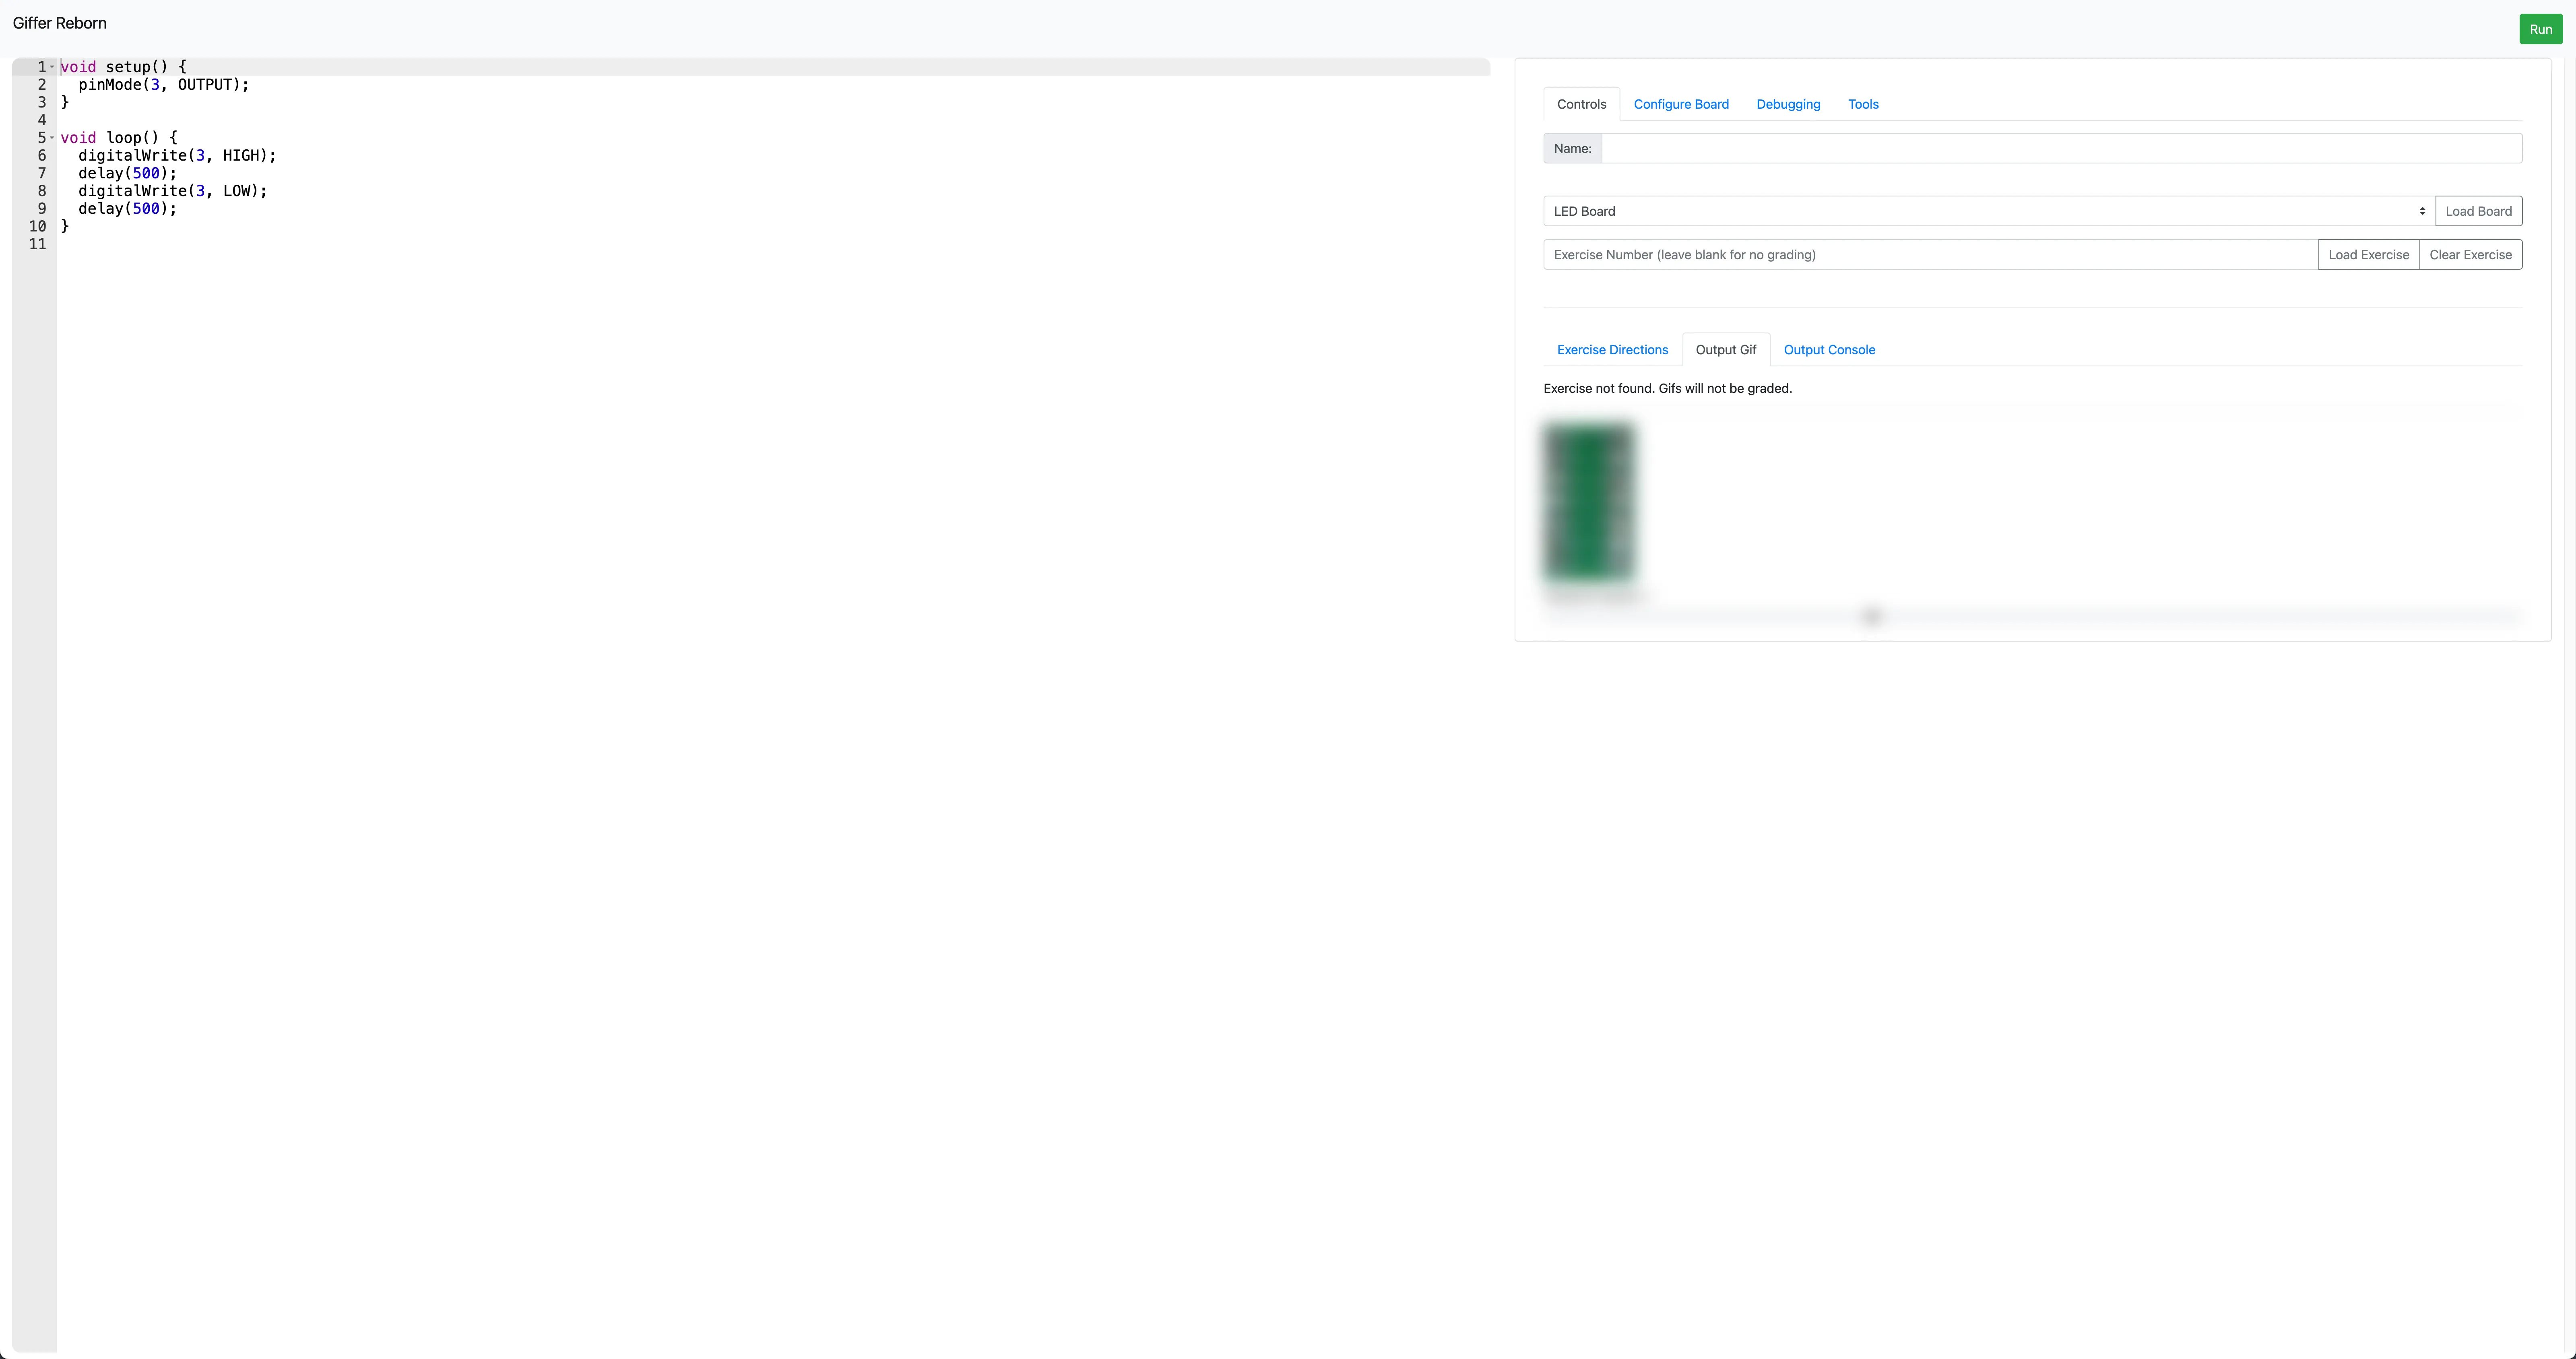
To program Arduinos there are two functions that is absolutely vital to know:
- void setup() this function is called at the start of the program and run once. It is here were we define pins that we want to set ast input or output. In our case, its almost exclusively input.
- void loop() this function is called repeatedly, thus an loop. At the end of every loop, it is called again forever. This is were we program the most of our LEDs, we will program and time our sequences here.
And there are three funtions that we used to make our light seqences:
- pinMode(pin, mode) this function configures the specified pin to behave either as an input or an output.
- digitalWrite(pin, value) this function writes a HIGH or a LOW value to a digital pin.
- delay(ms) this function pauses the program for the amount of time (in milliseconds) specified as parameter. (There are 1000 milliseconds in a second.)
Exercise 12
One of the exercise that we did between giffer 1-20 was exercise 12. An screenshot of the example is shown on the left. We were asked to blink all the odd numbered starting from 15 and going all the way down to 3. Then wait 4 seconds before starting all over again.
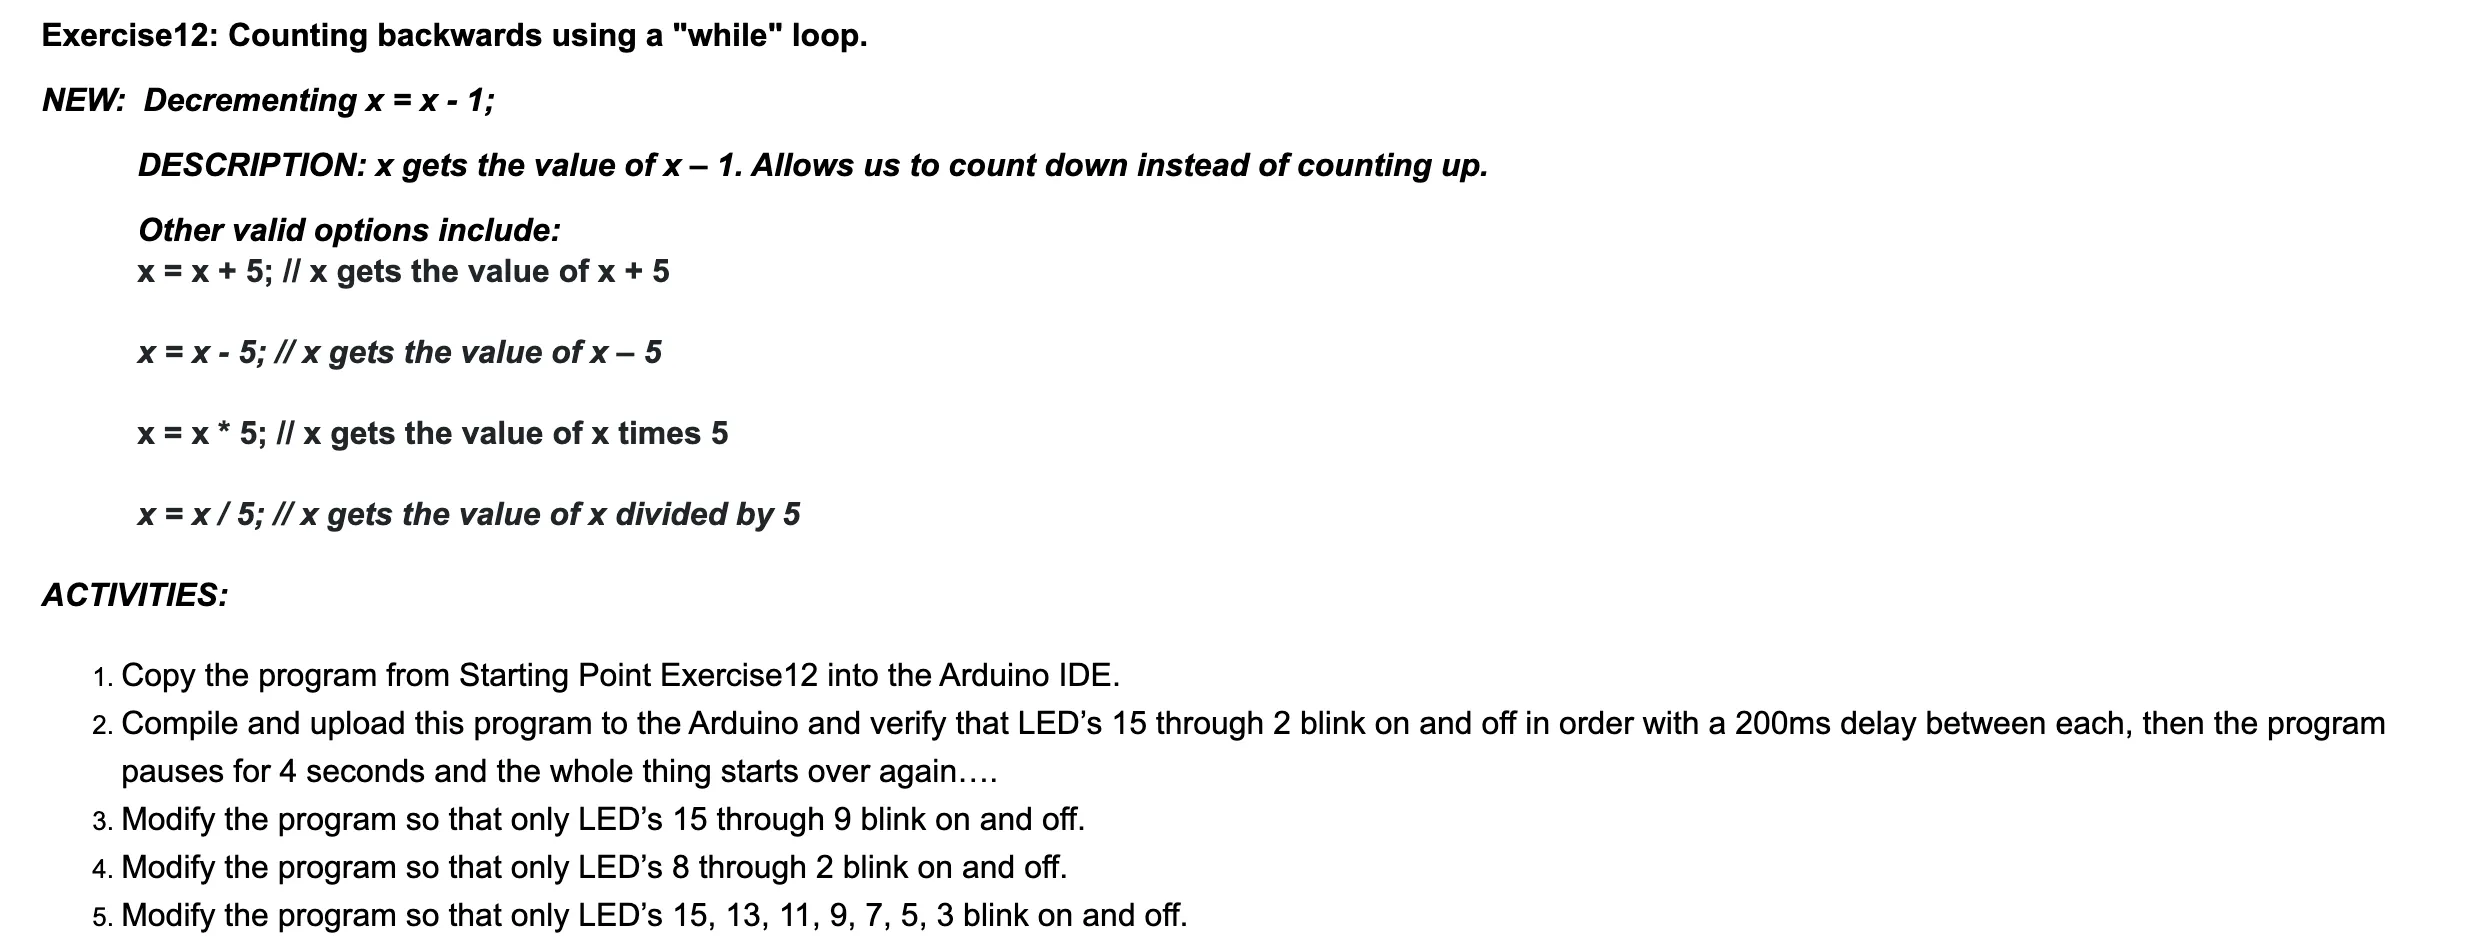
The code initializes pins 2 to 15 as outputs for controlling LEDs. In setup(), each pin from 2 to 15 is configured as an output. In loop(), it toggles LEDs from pin 15 down to pin 2 in steps of 2 (15, 13, 11, etc.), turning each on and off with a 200 ms delay. After reaching pin 2, there’s a 4000 ms delay before repeating the cycle. This creates an effect where alternating LEDs light up in descending order.

Exercise 29
One of the exercise that we did between giffer 21-40 was exercise 29. An screenshot of the example is shown on the left. We are asked to turn all the LEDs on at once. Then we are asked to run a sequence were we turn of the LEDs starting at 2 and going one at a time until LED 15. We are supposed to run the sequence 10 times and then wait 4 seconds before starting all over again. This was the first giffer problem without starting code.
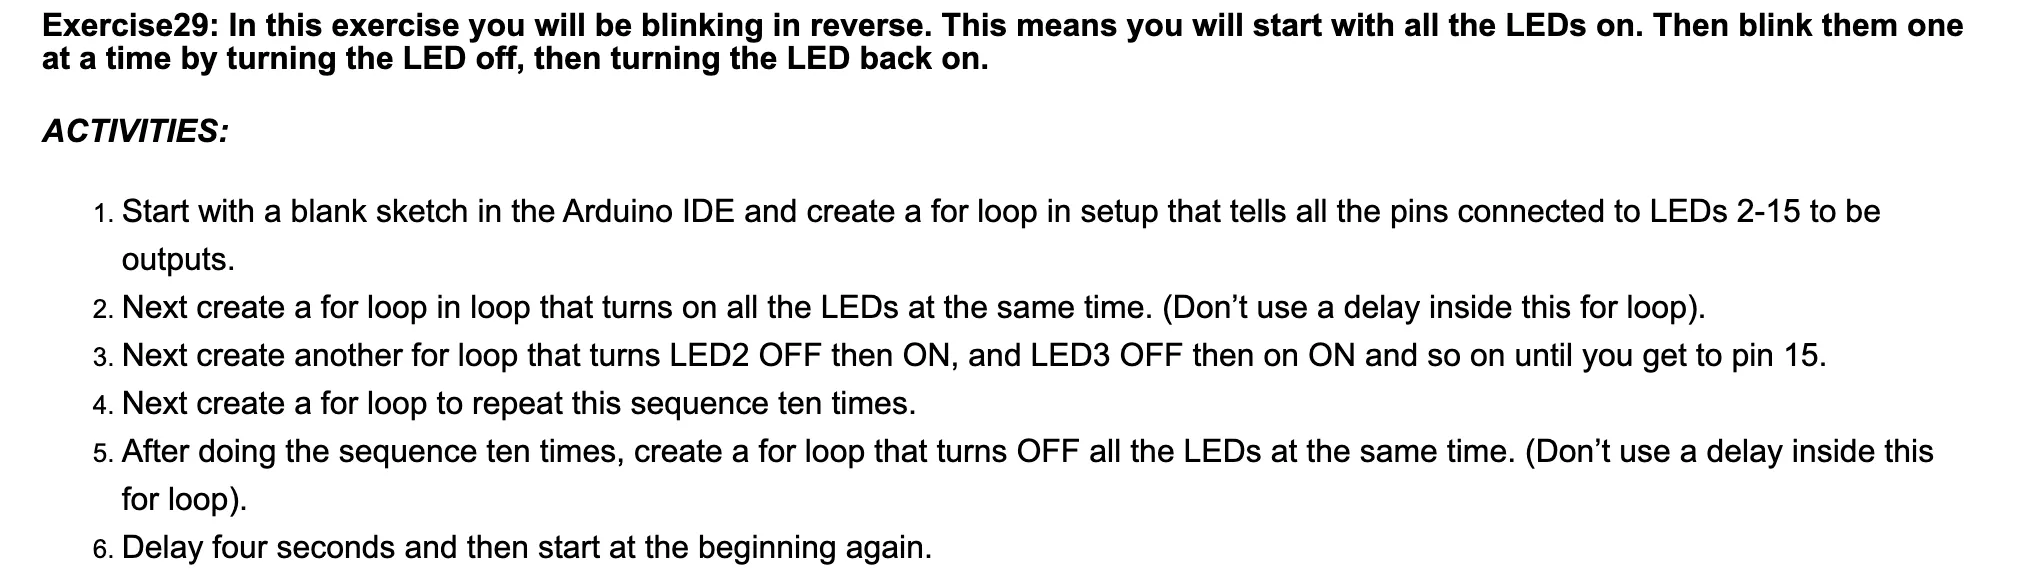
The code initializes pins 2 to 15 as outputs for controlling LEDs. In setup(), each pin from 2 to 15 is configured as an output. In loop(), all LEDs are initially turned on by setting pins 2 to 15 to HIGH. Then, a while loop runs 10 times, toggling each LED off and on with a 100 ms delay between states, creating a blinking effect across all LEDs. After 10 cycles, all LEDs are turned off by setting pins 2 to 15 to LOW. There’s a 4000 ms delay before the loop restarts, creating a pattern where the LEDs blink together.

Exercise 43
One of the exercise that we did between giffer 41-50 was exercise 43. An screenshot of the example is shown on the left. This is the continution in our learning of using arrays to define our patterns. By using arrays, it makes programming the pattern easier and make the code not as long. We are asked to blink all the LEDs starting from 2 to 15 in order. This is a trivial problem that can be done in a for loop, however it is important to learn how to do it with an array from much more difficult patterns.

The code initializes pins 2 to 15 as outputs for controlling LEDs. In setup(), each pin from 2 to 15 is configured as an output. In loop(), an array called myFirstArray is defined, containing integers from 2 to 15, representing the LED pins. The code then iterates through each element in this array, turning on the corresponding LED with HIGH, applying a 150 ms delay, and then turning it off with LOW. After all LEDs have been blinked in sequence, there’s a 4000 ms delay before the loop repeats. The nice thing about this code is that I can just change the values on the array and change the pattern without having to really change the code.

Exercise 49 video
Here is an video of Exercise 49. Here the LEDs are following a specific pattern that is defined by an array.
Exercise 56 video
Here is an video of Exercise 56 but is slightly modifed. This code is blinking the LEDs based off the analog input of the potentiometer. This is an example of analog input works. We call the function analogRead(int) to get the resistance value of the potentiometer and adjust our LED output accordingly.
Reflection
Overall, this was a dull unit. Before starting, I already knew a bit of C++, and although I was initially worried about whether I was ready, working with Giffer turned out to be easy. Everything was straightforward for me. However, there was very little interaction with Arduinos in this unit; we mostly stayed on our computers working with Giffer. I found Giffer to be very dull, and I struggled to stay focused and complete the problems. In my opinion, we should have spent more time on the Arduinos, and Giffer could have been removed from the unit altogether. While peer programming was somewhat interesting, it was still focused on Giffer without actually seeing quantifiable results, which made it kind of lame.
I was successful in fixing the bugs in Giffer by forking the Giffer repository on GitHub. The link is here: Giffer Reborn. By forking it, I was able to fix the bugs on the website and succeeded in fixing many. Most of the problems were with the example code, and I was able to fix most of those problems.